
Your account is ready, and five steps stand between you and your first ticket. Here they are in order, each with the guide that covers it in detail.
Video coming soon
CYSOL shows you the way
Until your till is ready, the Dashboard greets you with a three-step window: Create what you sell, Add your staff and Pair your device. Each button takes you to the right screen. Later closes the window; you can bring it back from your account menu, top right, under Getting started.

On every other screen, the Set up your till list stays in the bottom-right corner. It adds two more lines: confirming your email address and taking your first payment. Nothing is ticked by hand — each line ticks itself once the job is really done. The cross at the top of the list puts it away for good.

1Create your products
Start by sorting your menu into categories: in Catalogue › Categories, pick your kind of business and your starting categories are ready in one click. Then add what you sell in Catalogue › Products: a name, a price, a category. Every active product shows on the till.
The full guide: Create your categories and products
2Set up your ticket
In Settings › Business, enter the name and address printed at the top of the ticket, plus your VAT rate if your business charges one. Settings › Printed ticket handles the rest: text logo, header, ticket footer. A preview shows the result before anything is printed.
The full guide: Customise your ticket
3Install the till
Open Catalogue › Devices and click Add. Give the device a name — "Counter", for instance — then click Create: a code appears. Type it once on the tablet or computer at the counter, and that device becomes your till.
The full guide: Set up the till on a tablet or a computer
4Add your team
Your own record already exists: it was created when you signed up, with the Owner role and a PIN. In Team › Staff, add your waiters, cashiers or cooks; each one gets a 4-digit code. The Starter plan covers your own record only — adding a team comes with Pro.
The full guide: Add your staff
5Take your first payment
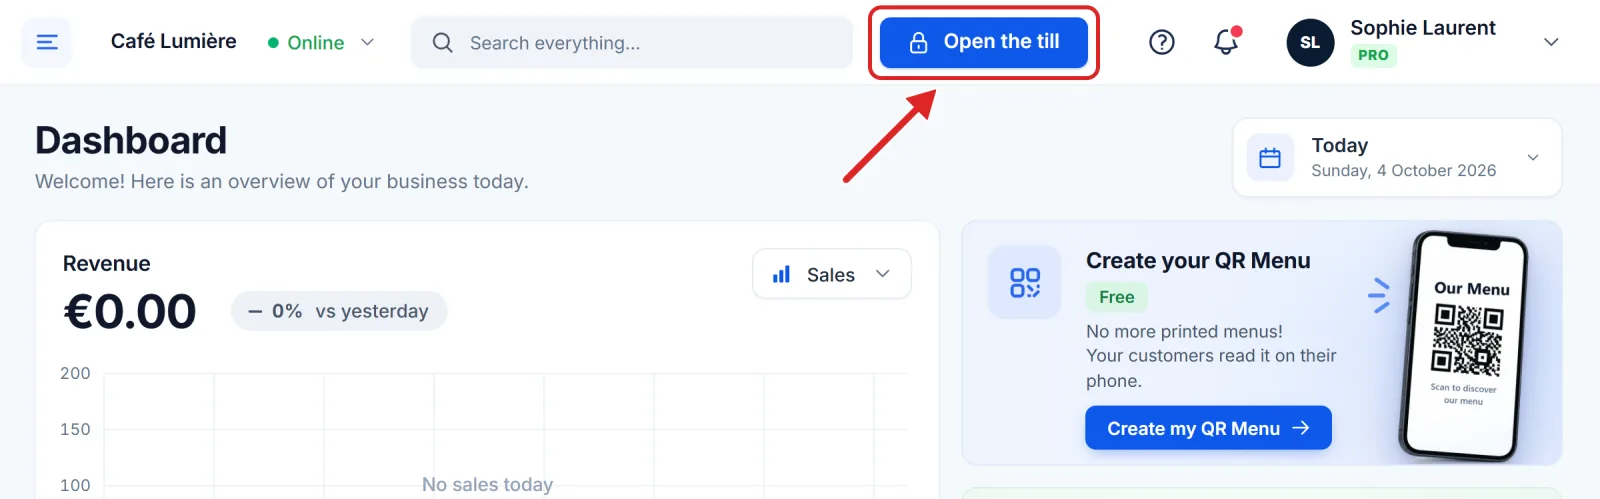
On the device you have just paired, choose your name, type your PIN, tap the products sold, then Take payment and Confirm. From a paired computer, the Open the till button at the top of the back office takes you straight there. From that first ticket on, the Dashboard starts filling up.
The full guide: Make a sale
Tip — To see again where each screen lives, open your account menu, top right, and choose Take the tour.